Showing posts with label cake. Show all posts

Monday, May 18, 2009

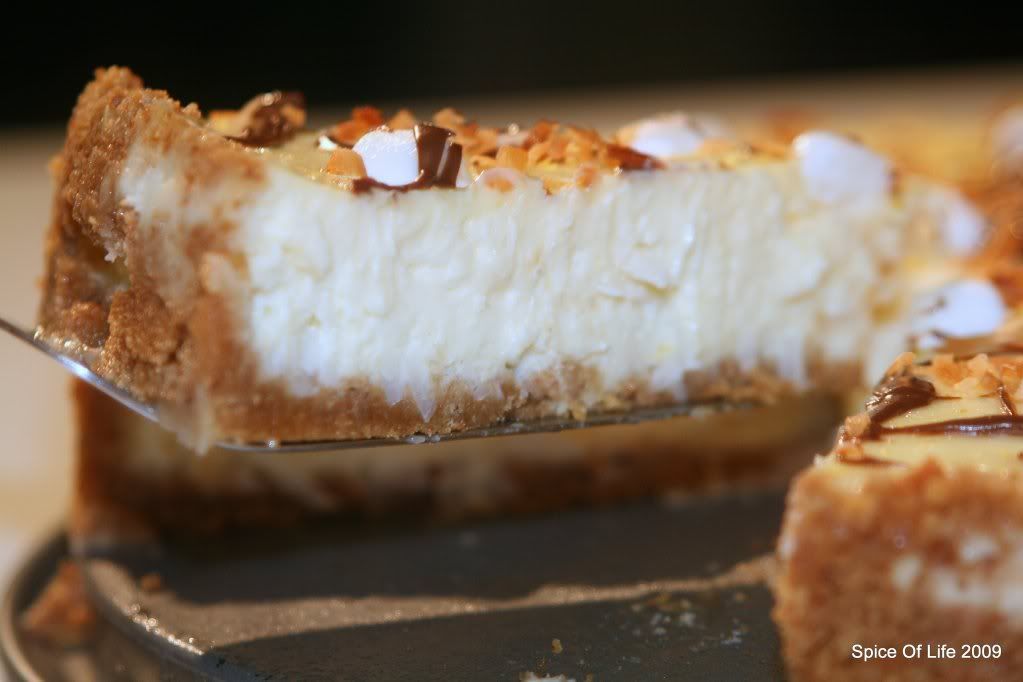
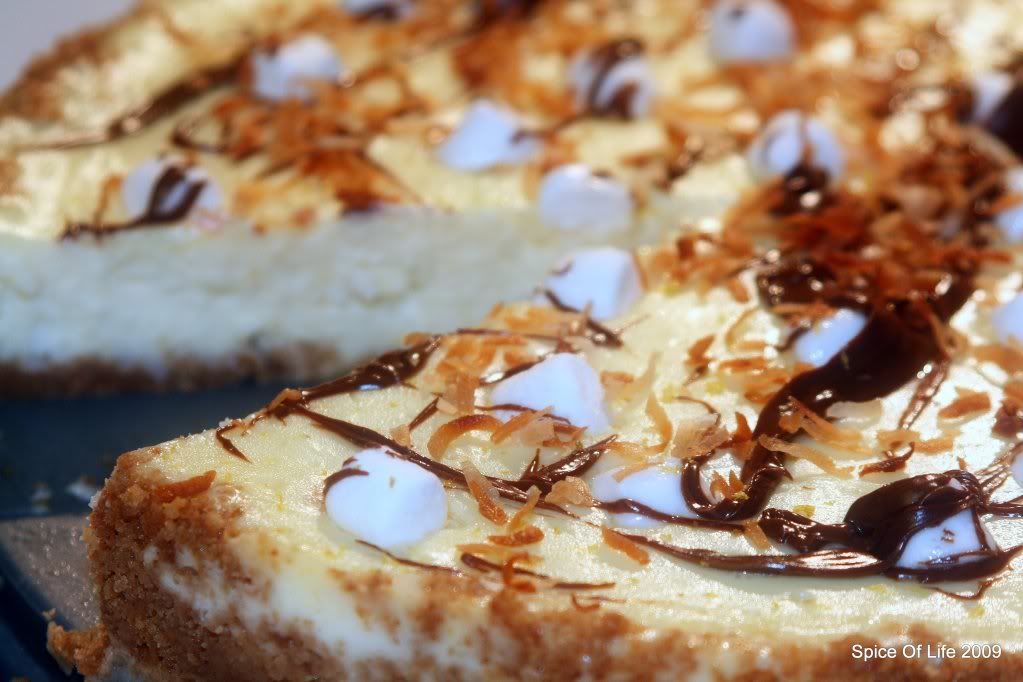
Cheesecake, S'more inspired

Photobucket

Have you had kitchen disasters? I have, countless of 'em.

If you like to cook, or work in a kitchen, I am pretty sure you have your share of fiascos, those good-intentions-gone-awry. It is inevitable and, if you ask me, it's an essential part of learning. If only we can share our stories over a cup of tea (or coffee), I am sure that we'll have a real blast listening to each other's narratives about our respective kitchen mishaps. Wouldn't that be so much fun?

When I talk about my unforgettable "duh!" kitchen moments, there is one incident that readily comes to mind. It is quite memorable for me, and may I say, hilarious too.

This happened 15 years or so ago. Back then, I was just beginning to explore the world of baking. I've always been interested in learning how to bake ever since the cooking/baking class I had when I was still in school. Sadly after graduating from college, my carreer took over and I'd never had a chance to really practice what I had learned in that baking class - until I got a scholarship in Germany for a long term training.

When I was in Germany, I spent most of my free time with a Filipino missionary family, so much so that they considered me as their "adopted" daughter. Their place became my home-away-from-home. The wife, Sarah, happens to be fantastic in so many ways, her cooking/baking skills included.
It was her who took me under her wing and mentored me, with the goal of molding me into becoming a good wife, a nurturing mother, and yes, an awesome baker. :o)

One day, I was helping her make a cake (forgive me, but I don't remember what kind it was). It all went very well in the beginning, until the time came for me to pop the pan into the oven. As it was my very first unsupervised baking endeavour, I eagerly picked up the pan from the counter, carelessly grabbing the pan by its rim.

Alas, the bottom of the pan gave way and to my horror, the cake batter flowed out from the pan and onto the floor much like a volcano angrily spewing its lava out --- all in a matter of seconds. Just imagine my shock and dismay! For a brief moment, I remained frozen on the spot staring at the blob by my feet. How mortified I was !!!

I think Sarah was just as shocked. But then, we quickly recovered and like a true Filipino, eventually found the whole scene comical. We laughed.
Thankfully, Filipinos are known to have the ability to laugh at themselves, to find something funny even in the most dire situation. Truly, this trait has served me well on occassions, such as this one.
Photobucket


Anyhow, that was my initiation to a unique baking tool, the springform pan. That experience definitely beats any classroom session on Lesson 101: An Introduction to Springform Pans hands down, wouldn't you say?

To commemorate that unforgettable experience, I bought my very first springform pan in Germany (Kaiser brand) which I love and still utilise to this day. It is the very same pan that we used to bake this S'mores inspired cheesecake in.

Springform pans are essential for cheesecake baking due to their removable bottom (boy, do I know this now!). This unusual pan has a fastener on the side that can be opened to remove the rim after the cake is cool, allowing the cake to remain on its base. It is a worthy investment if you love cheesecake and would like to try making one.

This cheesecake flavor, if I may say so, was actually concocted by Mr. J. For days, he had been wanting to make a cheesecake with his own flavor combination. So, like a good wife that I am (ahem), I let him have his way in "my kitchen". Hahaha. (Ok honey, it's OUR kitchen.)

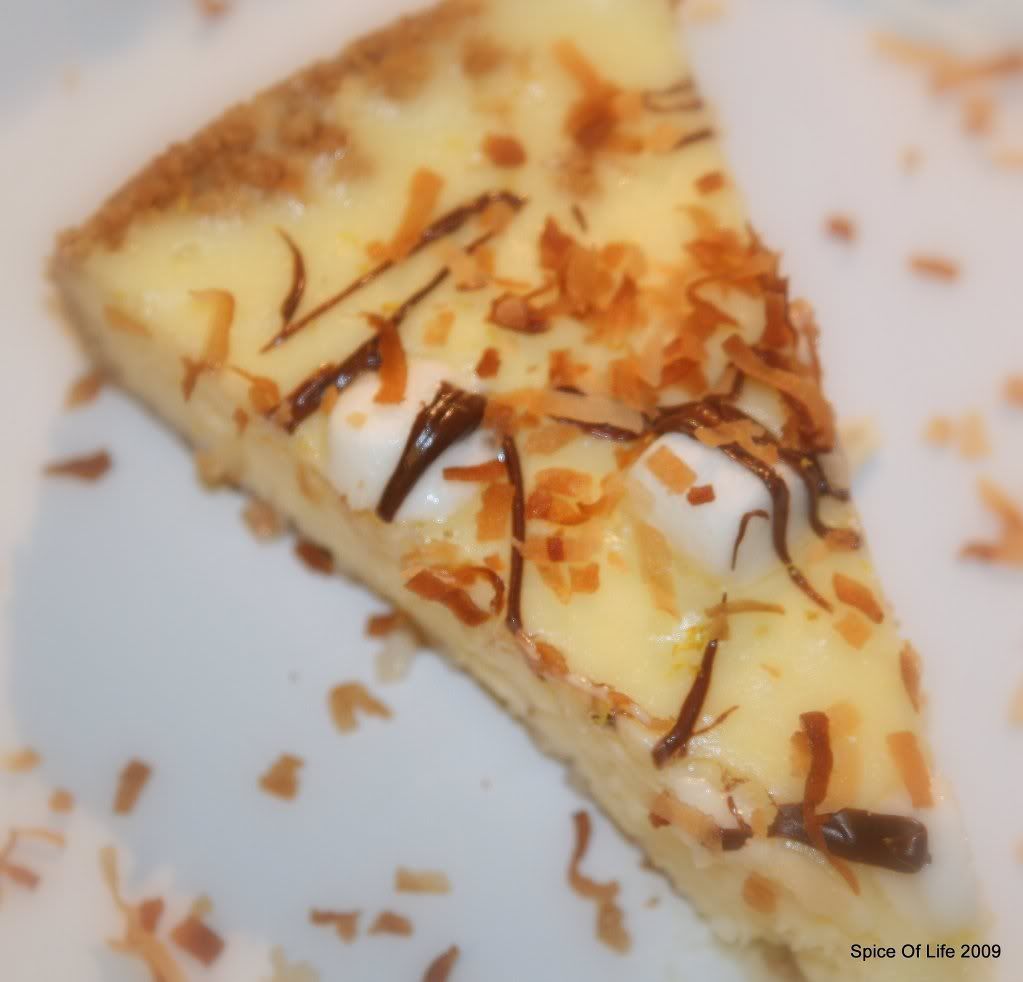
After surveying what we have in our fridge and pantry, Mr. J came up with this one. (He does have his flashes of brilliance..**wink**) I'd say, this cheesecake is a combination of his favorite eats -- S'mores + coconut.


(NOTE: For those who don't know, a S'more is a traditional campfire treat popular in the United States and Canada, consisting of roasted marshmallows and a slab of chocolate - usually Hershey's milk chocolate - sandwiched in graham crackers).

Being that this cheesecake was done by Mr. J, I regret to say that I won't have any recipe to share with you. He has not had the time to write it down for me and if I were to wait, it would be a loooooong time coming 'til that happens. :o) But, I do encourage you to infuse your cheesecake with your favorite flavors. I'm sure that the result will be amazing, just like how this one turned out for us. Good job, honey! This one definitely goes to Mr. J's "future restaurant menu item" file.
Photobucket

And since this cheesecake was that good, I can't help but share this, first, with Sarah. Sarah, you are and always will be my epitome of a Proverbs 31 woman. Thank you for being such a good example of a wife, mother and friend to me. This blog is an evidence of the time and effort you've invested in me. I miss you.

Next, a slice goes to this week's Lasang Pinoy Sunday (La.Pi.S) - Slice It Up. Sorry for being the perennial latecomer - but hey, I made it :oD. If you want to know more about La.Pi.S, kindly check it out here.

Enjoy your cheesecake. Laugh a lot; life is too short.

Sunday, April 27, 2008

Cassava Butter Cake

Cassava – or "yuca" as most commonly known here in Miami – is a shrubby plant that grows in tropical countries in Asia, Latin America and Africa. It’s most edible parts are the roots (or tuber) and the leaves.

I have good memories playing in the nearby cassava fields with friends when I was young. We used to take some leaves and use its stems to braid each others hair. This plant also has medicinal qualities, or so I believed when I was young. When we get cuts or scrapes from playing, we used take a leaf from the cassava plant and apply the sticky liquid that oozes out from the stem to our wounds.. boy, did it sting!

But I have learned since that cassava is more than just for braiding hairs and healing cuts and scrapes. I’ve also discovered its edible roots and the wonderful, starchy quality it yields when boiled. It is also the source of tapioca which happens to be one of my favorites as well. Here in Miami, I’ve learned that the boiled cassava (or yuca) is also good when sautéed with garlic and onion and eaten with black beans, rice and shredded beef. But my most favorite still remains to be the cassava cake.

Cassava cake is a classic Filipino dessert. I was invited to come to the birthday party of one of my Filipina girlfriends, so I thought of making it. But being here in the US, freshly grated cassava is hard to come by. I can grate them myself but that is such a lot of work! And yes, I can get frozen grated cassava from the Asian store, but I was too lazy to get up and drive for about 30 minutes to get to the store. So, I settled with what I have on hand - cassava flour. An easy cop-out, wouldn't you say?

I have not tried using cassava flour to replace the grated cassava before, but...… it’s time to experiment!!! I just love the suspense.....

Photobucket
Cassava Butter Cake
2 c cassava flour
1 c sugar
1/2 c evap milk
1/2 c coconut milk
1 c young coconut (macapuno)
2 pcs egg (yolk and white beaten separately)
2 tsp baking powder
1/2 c butter
1/2 tsp vanilla

Topping
3 Egg Yokes
1/3 Cup Sweetened Condensed Milk
2/3 Cup Coconut Milk

Procedure
1. Pre-heat oven to 325 degrees F.
2. Sift together the measured baking powder and cassava flour.
3. In a mixing bowl, cream butter until smooth. Add sugar gradually and mix well.
4. Alternately add egg yolk, dry ingredients and milk. Mix thoroughly in one direction until well blended.
5. In a separate mixing bowl, beat the egg white until stiff peak forms.
6. Fold in the mixture to the beaten egg white.
7. Pour the mixture in an ungreased baking pan. Bake for 20-30 minutes or until top is no longer wet.
8. In the meantime, mix well all ingredients for topping. When top of cake is no longer wet, spread topping evenly on cake.
9. Bake an additional 20-30 minutes.
10. Allow to cool before serving.
Photobucket

The result??? It isn’t half as bad as I expected it to be. The cake doesn’t have the usual texture that a grated cassava would give, but it is still sticky. Actually, I liked it, and infact, I will make it again using more coconut milk and less of the evaporated milk next time.

Friday, April 4, 2008

Man-Go!

Photobucket

Contrary to popular belief, the fruit that Adam ate in the garden of Eden was not apple but mango. Because when God found out that Adam ate the apple at Eve's prompting, God was so upset He told them "man..go!" Wha-ha-ha-ha..
Ok, this is my corny joke for the day and I hope this won't prevent you from reading the rest of this post. I can assure you, this cake is waaaaay better than the joke.. truly mangolicious!
Photobucket

If there was one thing that I miss most in the Philippines gastronomy-wise, on the top of my list would be the mangoes. Philippine mangoes are small, yellowish-gold in color when fully ripe and very, very sweet both in smell and taste. The flesh is tender, juicy and not fibrous like the bigger varieties most common here in Miami.

Last Saturday, one of my Filipina friends gave me some mangoes to my delight. It's the variety (I believe from Mexico) that comes close to the one we have in the Philippines. I knew immediately what I was going to do with them.. some kind of a mango ice-box cake that I used to make a lot when I was in the Philippines.

But then, when I was browsing through some food blogs, I came across a post of novice-baker.blogspot.com, which inspired me to do this cake. I got her recipe, and combined with 2 other recipes I have, I came up with my own version.

Photobucket

Photobucket

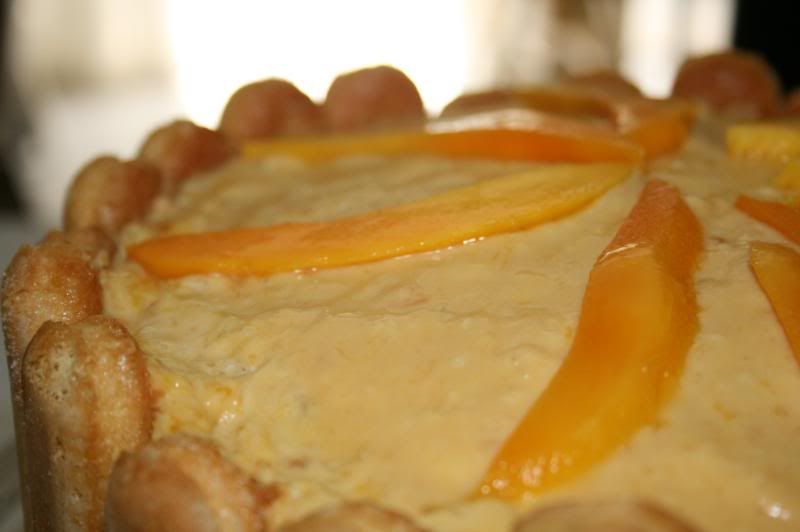
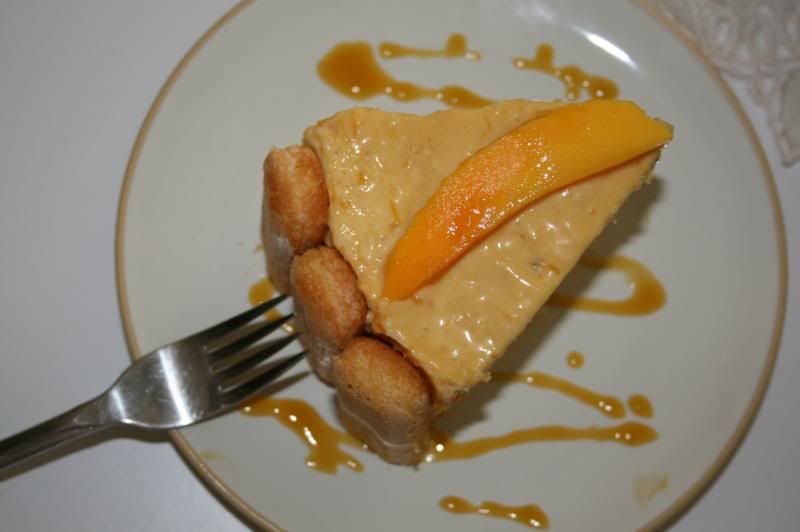
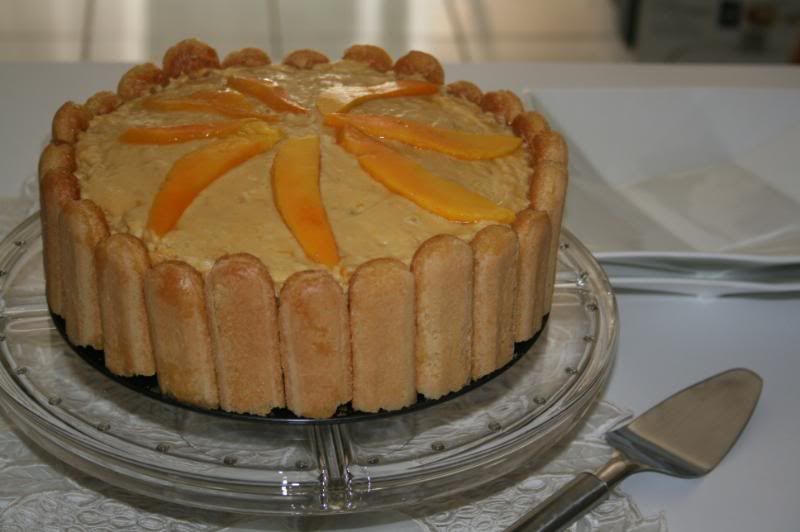
Mango Cream Cake
Cake

2 cups cake flour (you may use all-purpose minus 2 tbsps per cup)
2 tsp baking powder

1 tsp baking soda
1-1/4 sticks (3/4 ) unsalted butter, room temperature
1 cup sugar
4 large eggs
3/4 sour milk or buttermilk
3/4 tsp vanilla
3/4 tsp mango extract (optional)
1 cup chopped, stewed mangoes

Filling
1 cup heavy whipping cream
1 cup chopped mangoes, stewed
1 cup mango stew liquid
1 cup chopped, stewed mangoes
2 packs unflavored gelatin powder (recommended, Knox)
1 cup butter
1/2 cup sugar

Topping/Decoration
Set aside 1/2 cup of the filling above
2-3 tablespoons condensed milk
1/4 cup mango puree (from the stewed mangoes)
Fresh mango slices
1 pack Lady Fingers, for lining

Stewing
3 cups mangoes, chopped (about 1 lb, roughly4-5 pcs depending on size)
1-2 cups water
1/2 tsp salt
2-1/2 cups sugar (reduce amount depending on how sweet you want it)

1. Stew mangoes. Combine all the ingredients and cook in high heat, stirring frequently, until thick and clear. Let it rest and cool off.
2. Pre-heat oven to 350 F. Butter two 9x2 inch round cake pan, dust the inside with flour. Shake excess off. Line bottom with parchment or wax paper. Set aside.
3. Sift together cake flour,baking powder, soda and salt.
4. In a large bowl, cream together butter and sugar till fluffy.
5. Add eggs one at a time and beat well after each addition. Beat in vanilla and mango extract (increase amount of vanilla if you don't have vanilla extract).
6. Reduce mixer speed to low and add dry ingredients alternately with sour milk. (Add the dry ingredients in 3 additions and the milk in 2, beginning with the dry ingredients). Mix only until ingredients are incorporated.
7. Fold in stewed mangoes.
8. Divide batter between the prepared pans and bake for 25-30 minutes, or until toothpick inserted into the center of the cake comes out clean. Rotate the pans halfway through the baking time.
9. Transfer cake to a rack to cool off. When cool enough to be handles, run a thin knife around the sides of the cake, invert pan and carefully unmold, peeling of the paper liners. Cool further to room temperature.

While cakes are cooling off, make the filling:
1. In a microwavable bowl, combine the stewed mangoes and the liquid. Add 2 packets of gelatin powder. Microwave in 30 seconds or until gelatin solution dissolved and turns clear. If mixture is thick, add more stewed liquid. Let it cool.
2. In a separate bowl, beat whipping cream until stiff.
3. Fold in whipping cream to the mango-gelatin mixture, carefully and lightly.
4. Set aside 1/2 c of the mixture for topping.


To assemble:
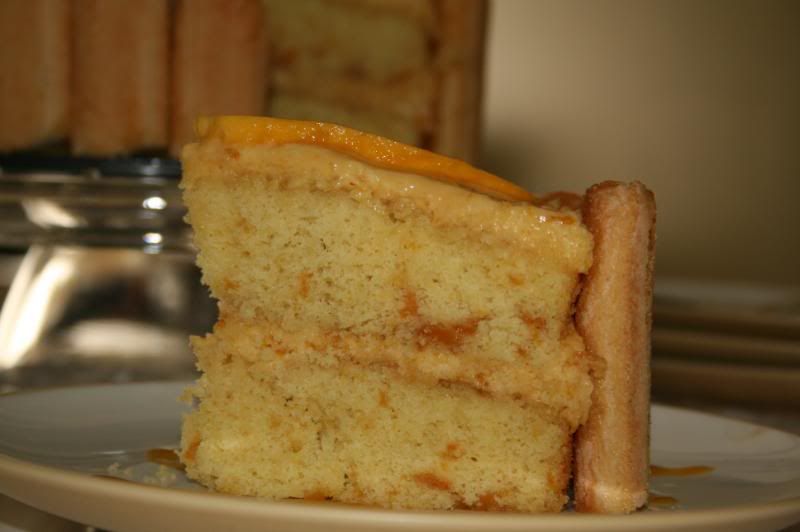
1. Place 1 layer of cake at the bottom of a 9-in spring form pan. Brush top of the cake with the syrup from the stewed mango. (I also tried flattening out the top of the bottom cake layer , as you can se in the photo).
2. Pour the mango cream mixture on top of the cake. Add mango slices, on top if you wish.
3. Brush one side of the lady finger (cut according to height of the pan) with the mango stew syrup and line them on the side of the ring. Brushed side inwards.

4. The put the second layer of cake on top. Repeat procedure #1.
5. For topping, get your reserved 1/2 cup of mango cream and to it add the condensed milk and mango puree. Mix.
6. Pour on top of the cake. Decorate with mango slices.
7. Chill overnight before serving.


*** Note: The mango stew is all an estimation of mine. You may or may not end up with more syrup than required. Also, you may substitute mango with prunes.